Growing and Using Vanilla Orchids in South Florida

South Florida’s climate is friendly to growing vanilla orchids, and if you’re willing to hand-pollinate, practice patience and carefully cure and sweat the pods, you can even have home-grown vanilla.
About 99 species of the vanilla orchid grow in subtropical and tropical regions. The name Vanilla is from the Spanish word vaina, meaning sheath or pod. The Maya grew vanilla in sinkholes in the Yucatán; later, the Aztecs wrote that travelers should wear vanilla around their necks for protection.
Spanish explorers brought vanilla pods back to Europe from Mexico during the 1500s. Cuttings were grown in Europe from the 1730s, but the absence of their native pollinators meant that those vines produced no pods. During the 1800s, Charles Morren, a Belgian botanist, went to Mexico and learned that the vanilla flower is pollinated by the tiny, stingless, Melipone bee, which occurs in the neo-tropics. However, Morren also discovered how to artificially pollinate the flower, which led to successful growing of vanilla in French colonies such as Tahiti and Madagascar.
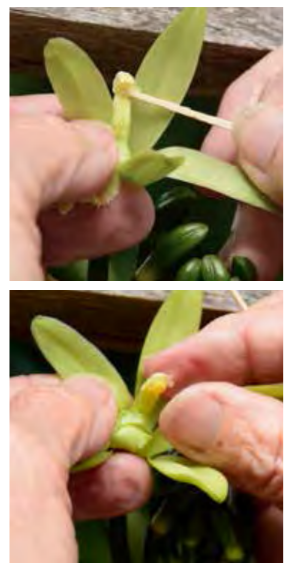
Later, a 12-year-old slave on Reunion Island developed a better pollination method. He used a small stick to split the side of the flower, causing the anther sac to touch the stigma, and then smashed them together with his thumb and forefinger. This is the same method I use to pollinate my flowers, except I use a toothpick rather than a stick.


Shop Orchids in the Fairchild Plant Store
Vanilla Orchid Cultivation in South Florida
You can grow vanilla plants in your South Florida garden, too. Vanilla planifolia is native to Mexico, grows in Florida and is the major commercial vanilla plant. It is a monopodial (growing upward from a single point), climbing, vine-like plant, with thick, leathery leaves alternating along the stem, where aerial roots emerge from each node. These vines can grow quite long—I have some that have reached more than 30 feet, growing on palms, up pieces of board, across a horizontal trellis and even up the metal lathe side of a shade house.
Vanilla grows in warm, humid climates and likes bright sun most of the day, referring some shade at noon. These plants love palm trees, oaks or any tree that will allow sufficient light for them to bloom and still provide some shade and wind protection.
To make cuttings, remove lower leaves and place the bottom end of the plant in a plastic pot filled with sphagnum moss. Mist the roots daily and keep the media moist.
If your vanilla plant has roots, you may place them directly in soil next to a tree or wooden pole. Add some leaf litter, peat or mulch. Or, plant your vanilla in a pot with a mixture of potting soil, compost and/or orchid mix and tie the vine onto a support such as a stake or trellis. The aerial roots will attach to the tree or other support. Fertilize with 20-20-20 weakly (use one quarter to one half teaspoon per gallon of water) every week. I also top-dress the pot with Nutricote slow-release fertilizer in the spring.
It may take several years for the vine to grow large enough to flower, but I have found that once the vine is established, it grows rapidly. If you plan to pollinate the flowers, train the vine so that you can easily reach the flowers. Trust me, it is hard to climb a 16-foot ladder braced against a palm tree.
Vanilla Orchid Pollination
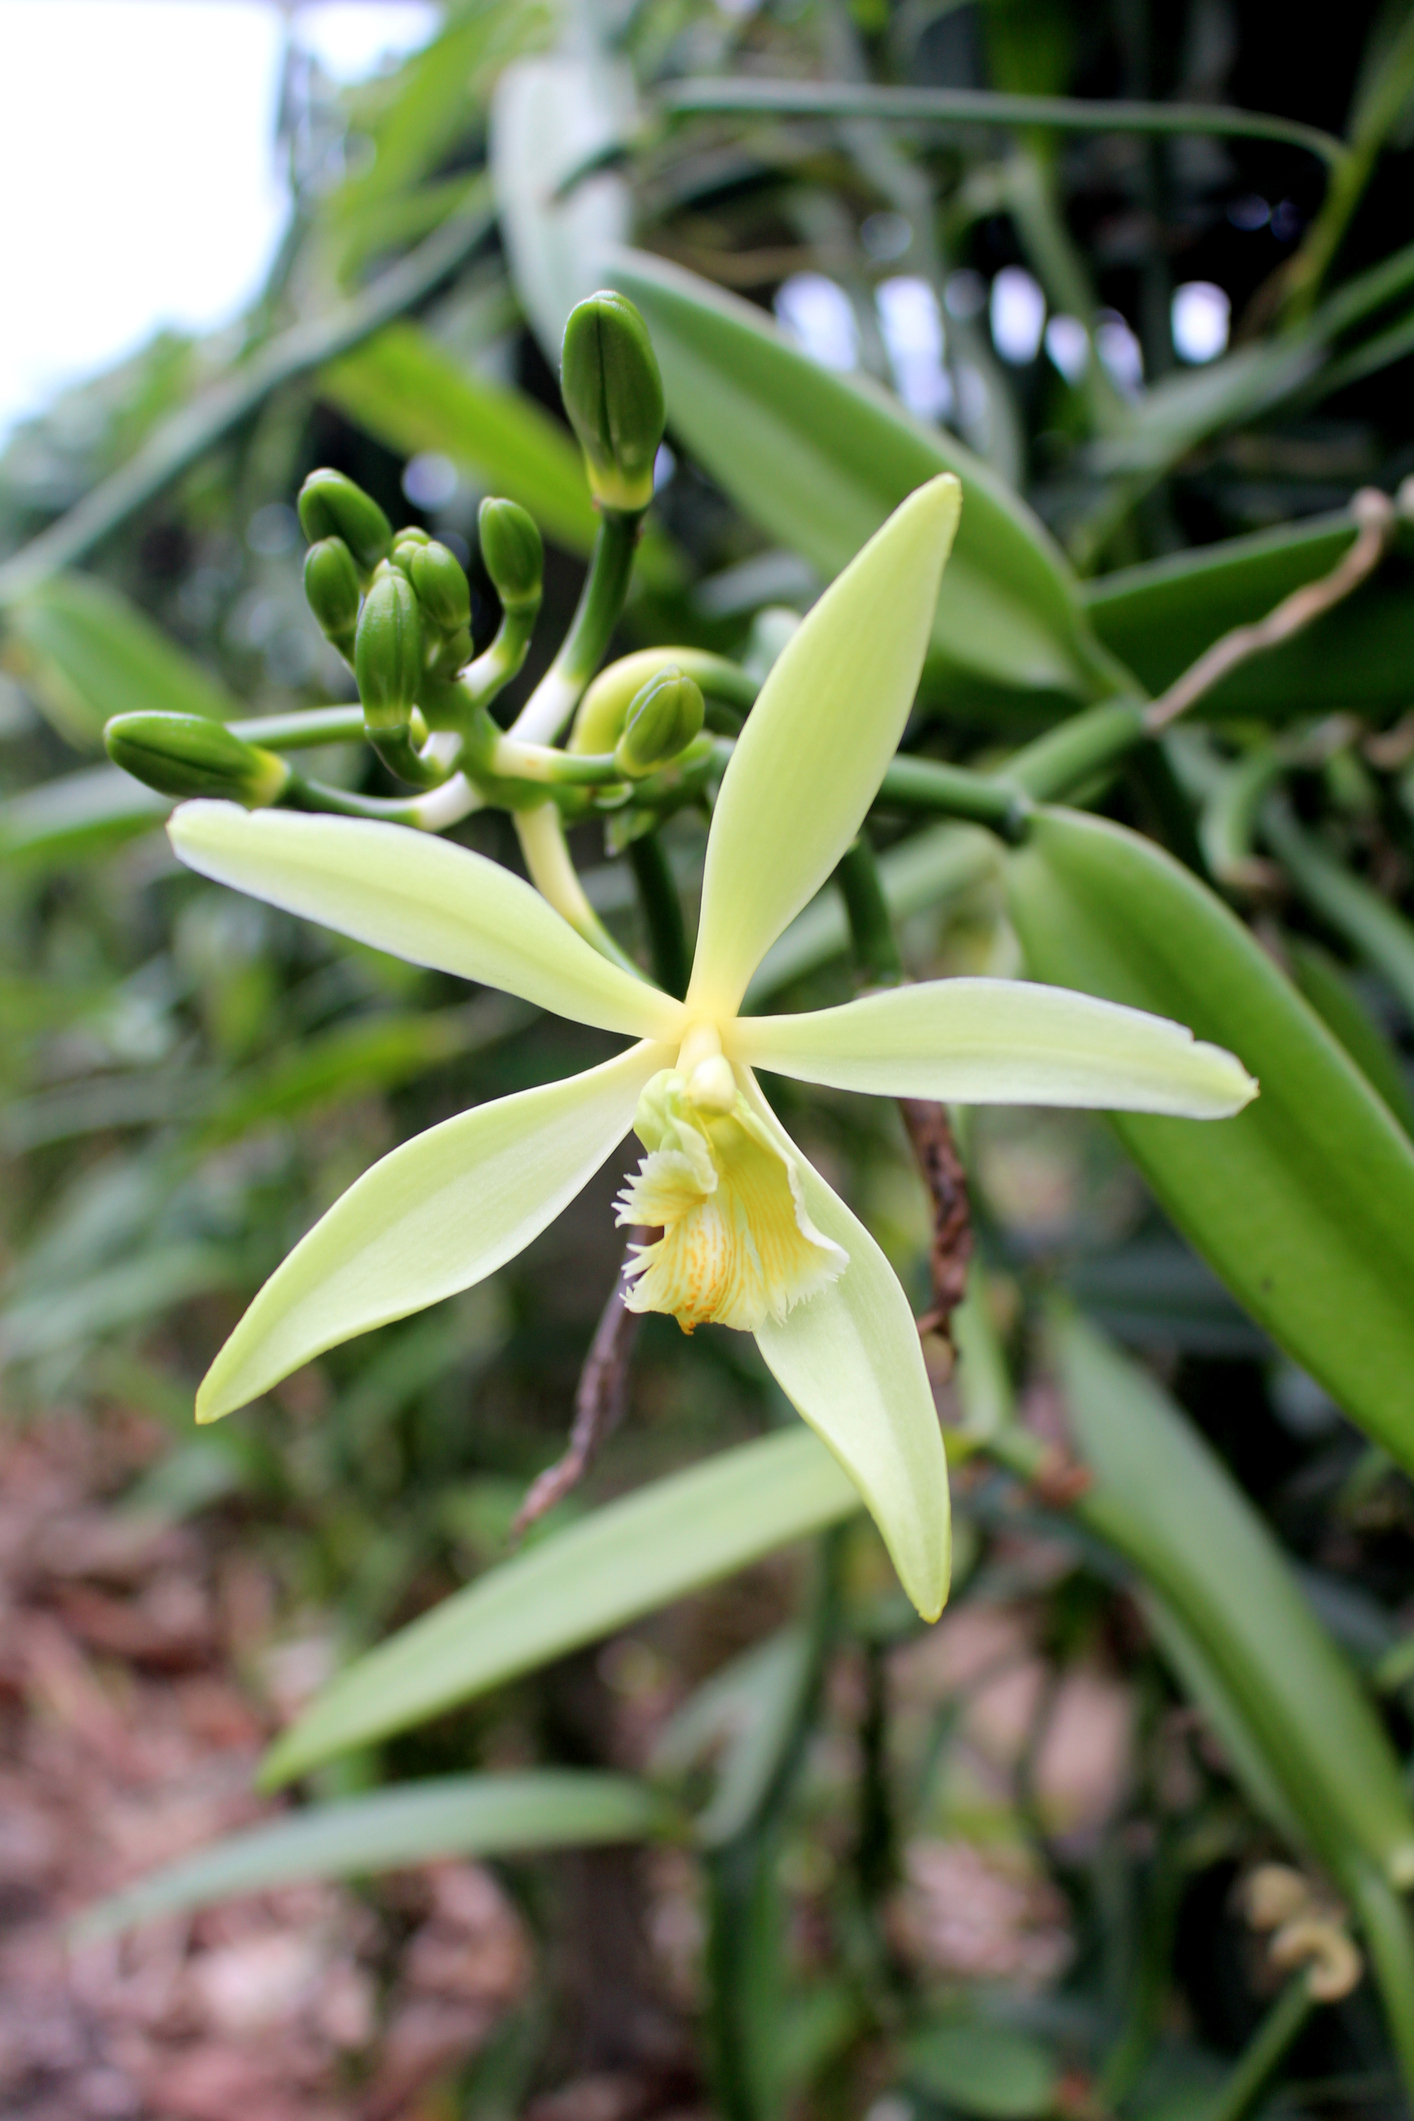
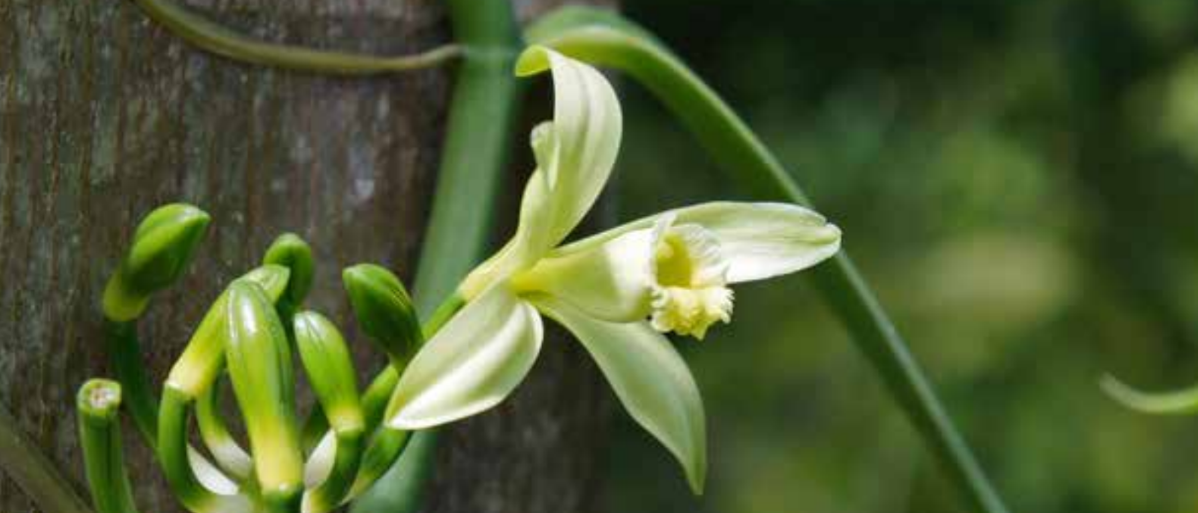
V. planifolia’s fragrant cattleya-shaped flowers form in the spring. They are fairly large, ranging from white to greenish yellow and green. Flowers form at the leaf axils (between the leaf and stem) in clusters, and open one or two at a time. Each flower lasts just one day, opening in the morning and closing the same afternoon. Most commercially grown vanilla is hand-pollinated.
Hand pollinate the flowers in the morning when they are fully open, around 11 a.m. Push the lip of the flower down so it is not in the way and hold the column with the fingers of your left hand. Use a clean toothpick in your right hand to lift the rostellum—a flap of tissue that projects down in front of the anther—and fold it upward. Then, press the anther down onto the stigma, which causes the pollen to contact the stigma. Several good YouTube videos offer step-by-step instructions. When the flower is successfully pollinated, the seed capsule (pod) is formed—thus, the term “vanilla bean” is not accurate.
Vanilla Pod Preparation
Pick the pods while they are still green, but turning yellow with a dark tip. It took my pods six months to get to this point. Cure the pods on trays in direct sunlight for several hours and put inside a plastic bag to sweat overnight. Repeat this process each day for six weeks. The pods will gradually turn dark brown. Then, dry the pods in a sealed container for three more months. Now you know why vanilla is so expensive!
If stored in an airtight glass jar and kept in a dark place, the pods will last for years. Each pod contains thousands of seeds, which are visible in certain brands of vanilla ice cream. Both the pods and seeds are used to make vanilla flavoring. I put one split pod in a jar of vodka (you can also use rum) and another pod in a jar of sugar.
This article was authored by Sandra Schultz, Ph.D., with photos by Georgia Tasker, and originally appeared in the Spring 2017 edition of The Tropical Garden. Minor changes from the print version of this article were introduced to improve readability in a digital format.
